How to Choose the Right Tiles for a Moisture-Proof Bathroom

Robin - November 22, 2025
Share

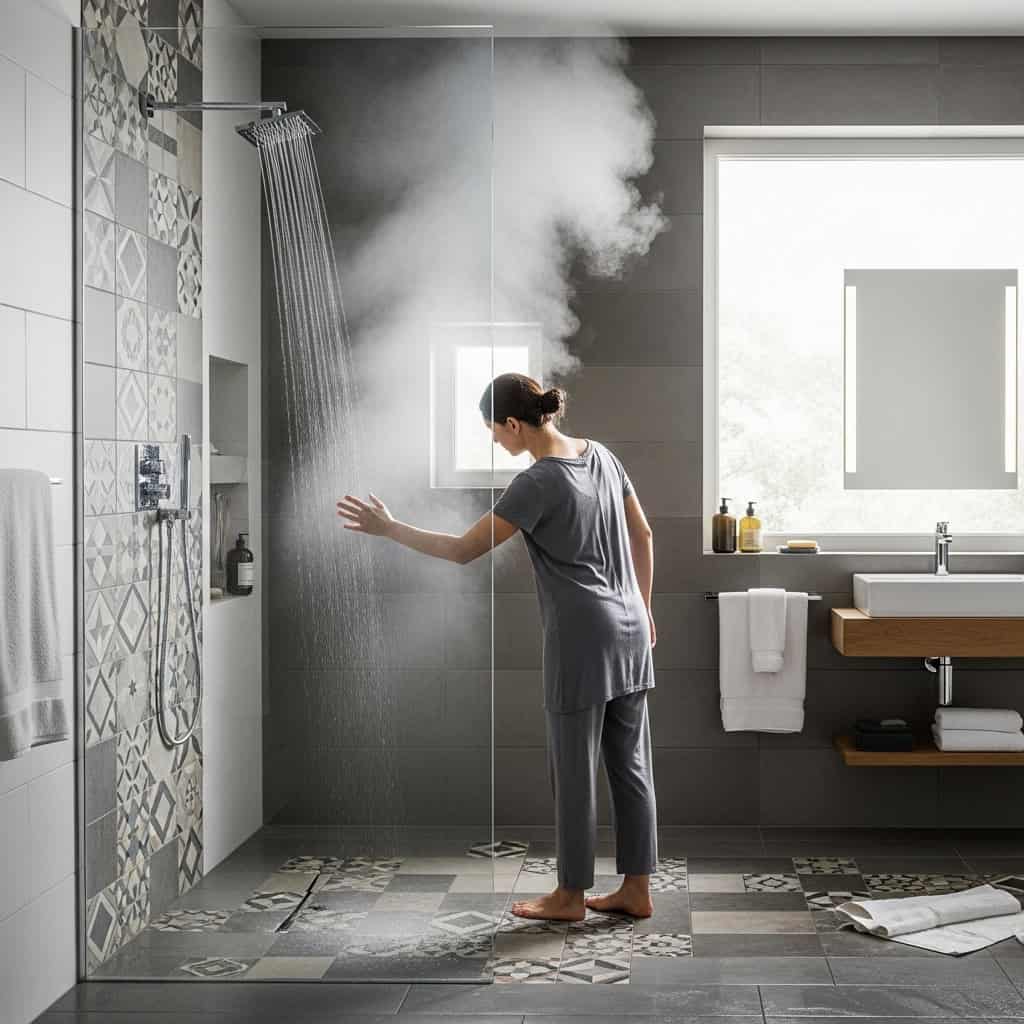
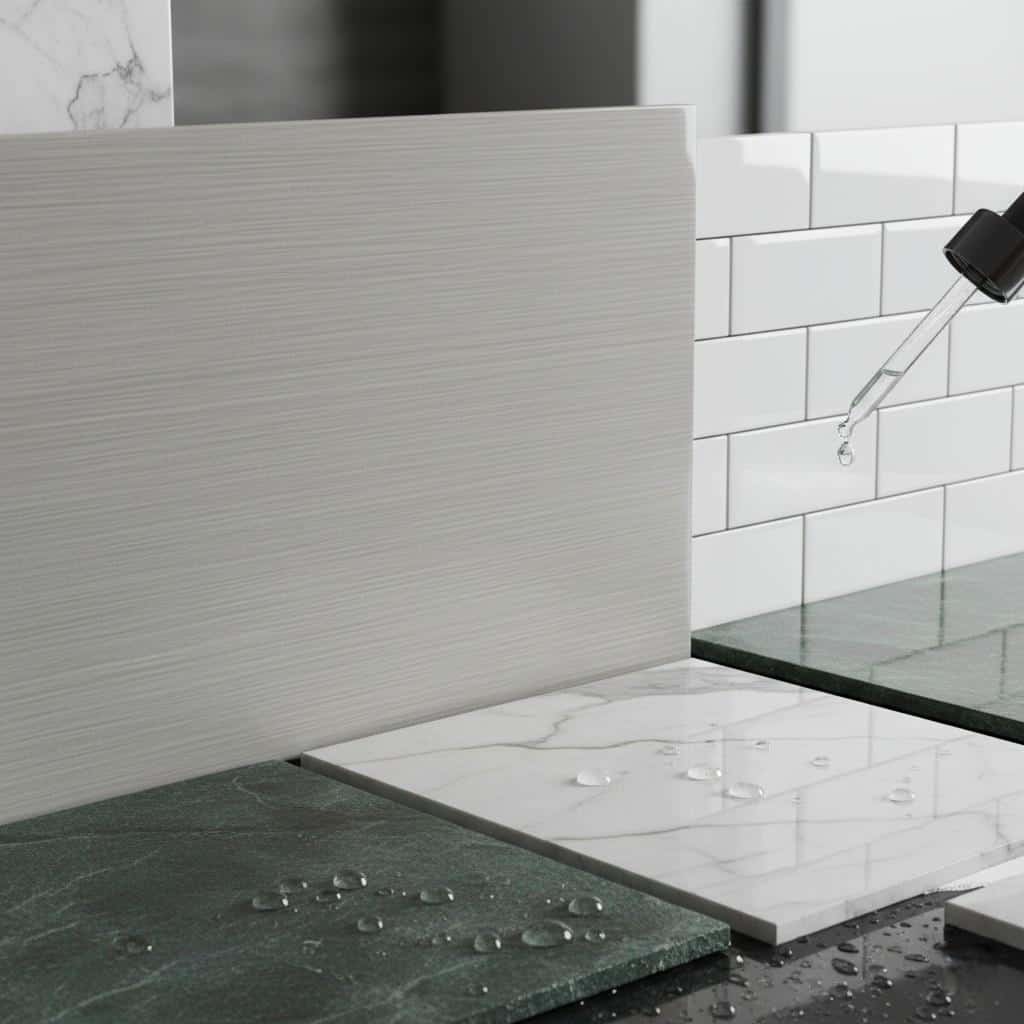
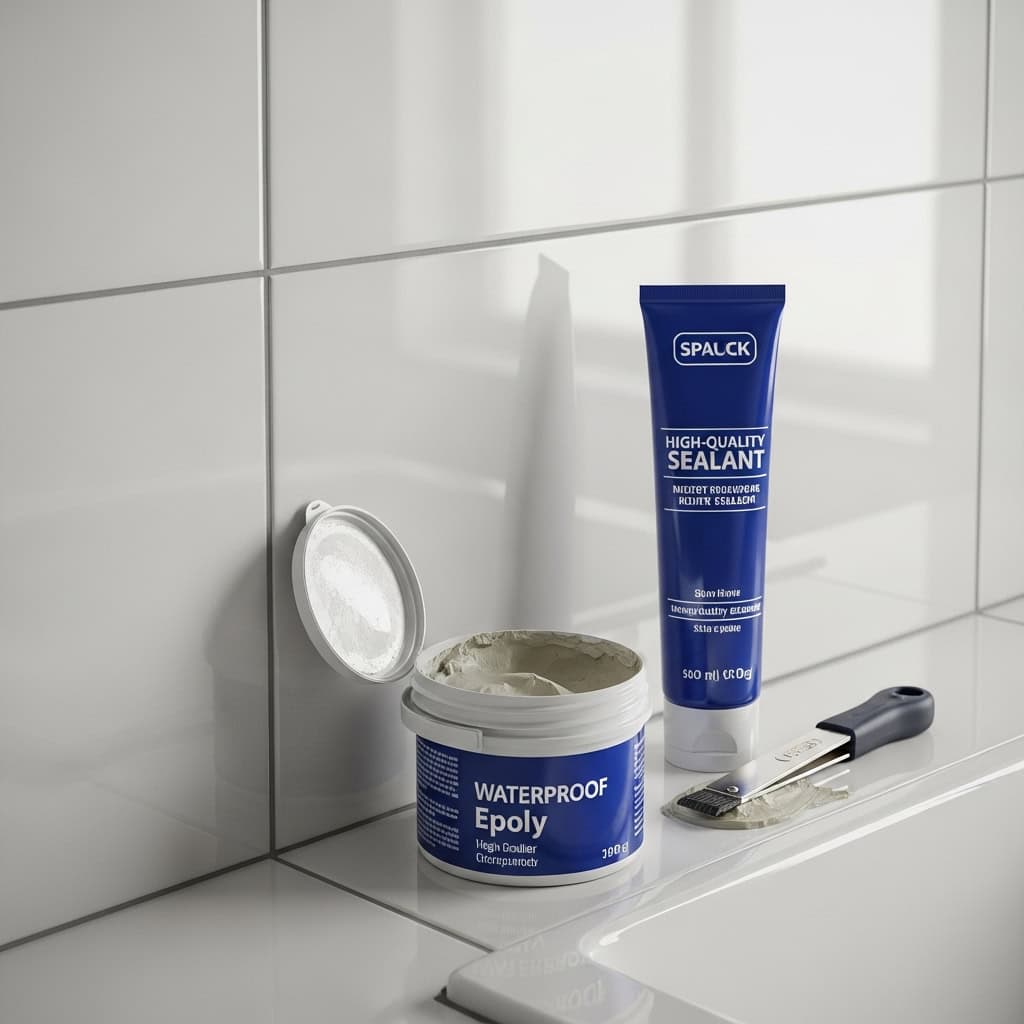
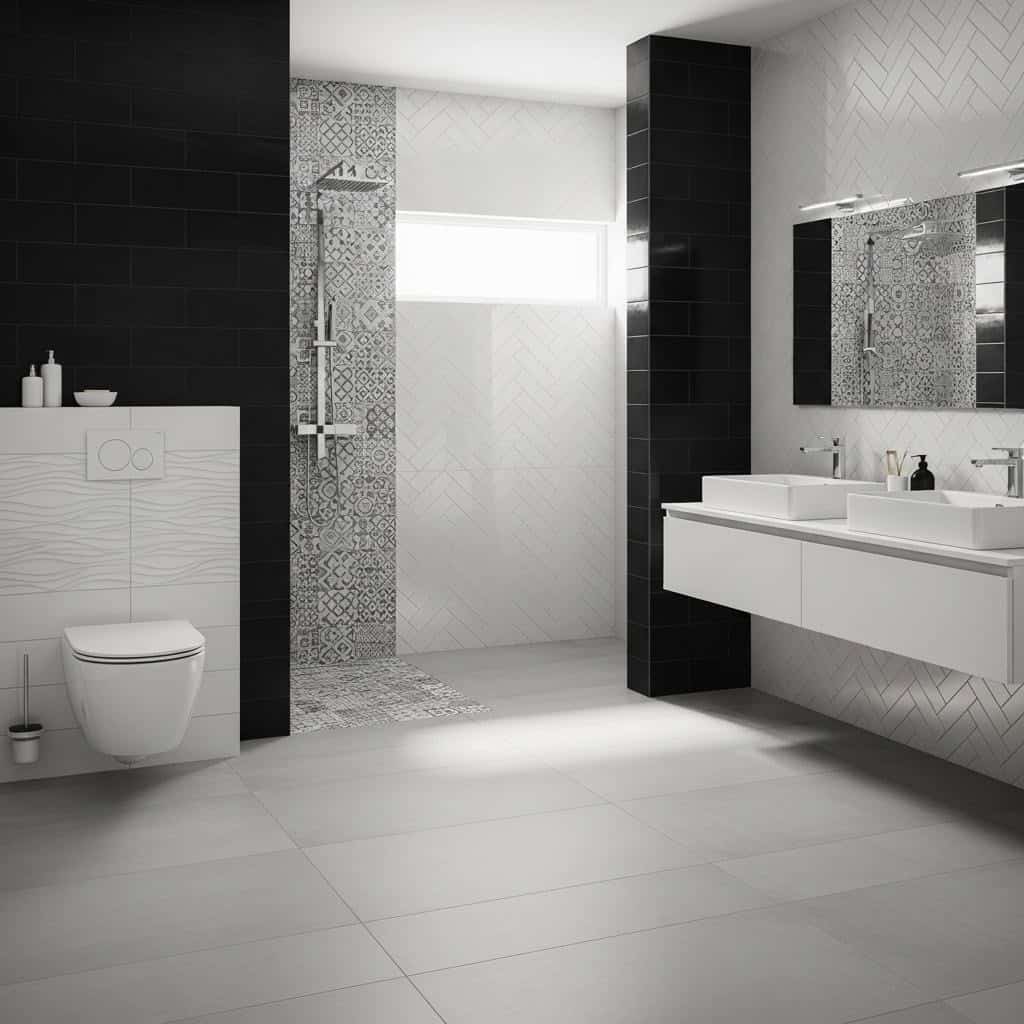
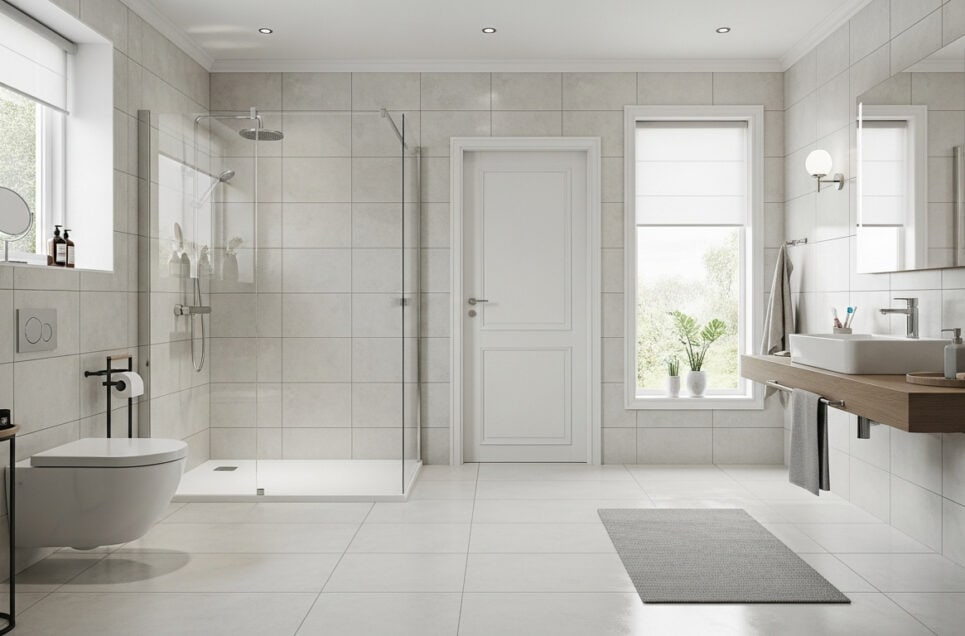
Bathrooms are naturally prone to high humidity and frequent water exposure, making them susceptible to mold, mildew, and structural damage. Selecting the right tiles is crucial not only for keeping moisture at bay but also for ensuring long-lasting style and performance.

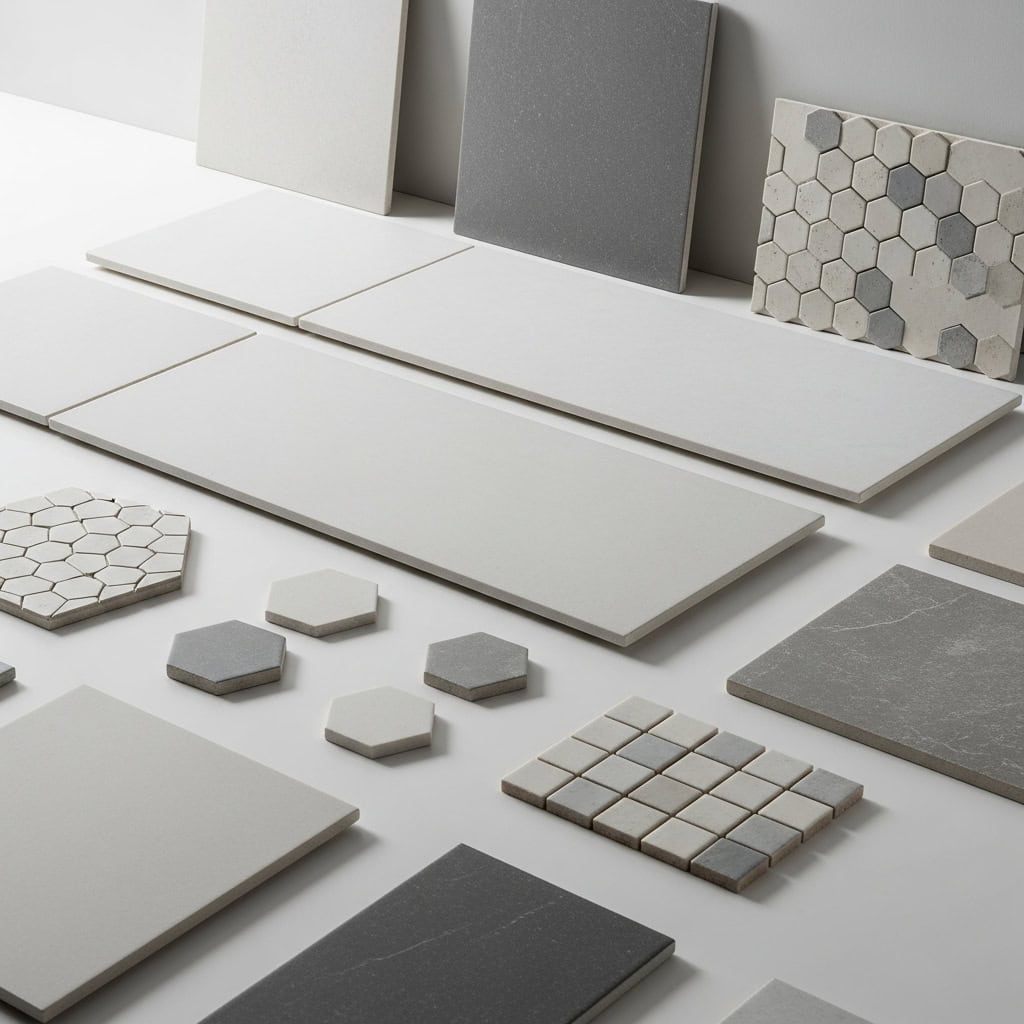
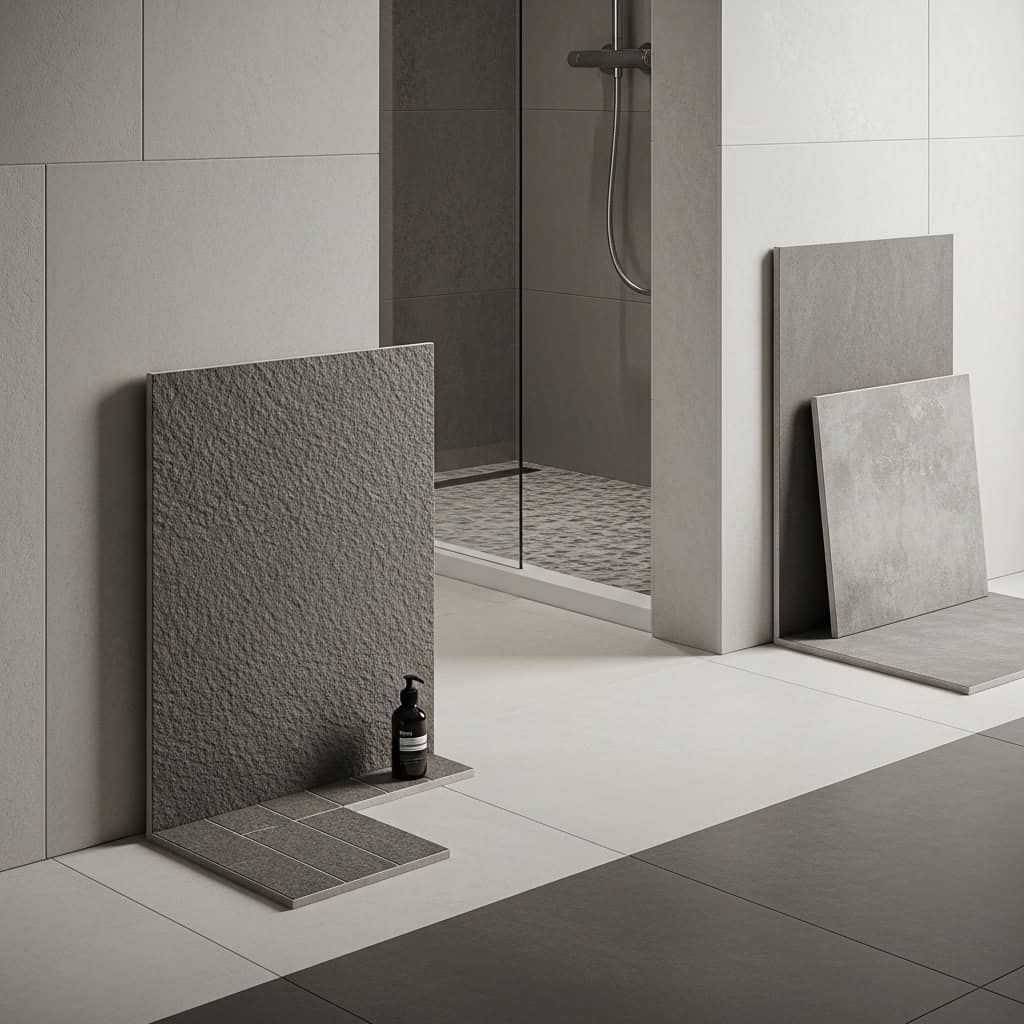
With countless options available, finding tiles that combine durability, water resistance, and visual appeal can be challenging. This guide will help you navigate the choices to create a bathroom that is both moisture-proof and beautiful.

Assess Your Bathroom’s Moisture Levels

Step 1: Assess Your Bathroom’s Moisture Levels
Visible beads of condensation cover the bathroom walls as a technician uses a device to assess excess moisture and humidity. | Generated by Google Gemini

Before selecting tiles, it’s essential to evaluate the humidity and water exposure in your bathroom. Consider factors like shower usage frequency, ventilation quality, and whether your space is a powder room or a master bath with daily steamy showers.

High-moisture areas require tiles with superior water resistance, while low-moisture spaces offer more flexibility. Understanding your bathroom’s unique environment helps you select the right tile material—such as porcelain or glass—that can withstand moisture and prevent long-term damage. For more on moisture considerations, explore Houzz’s bathroom tile advice and The Tile Shop’s guide.

Understand Moisture-Proof Tile Materials

Gemini generated image ry1l2hry1l2hry1
A dropper releasing water droplets onto a variety of tile samples, including smooth porcelain, textured ceramic, and veined natural stone, with some droplets beading up. | Generated by Google Gemini

Choosing the right material is key to ensuring moisture protection in your bathroom. Porcelain tiles are highly recommended because they are dense, non-porous, and exceptionally water-resistant, making them ideal for wet areas.

Ceramic tiles also offer good water resistance and are easier to clean, but always opt for glazed varieties to boost their durability. Natural stone tiles like slate or marble can add luxury, but require sealing and careful maintenance due to their porous nature. Prioritize non-porous, low-maintenance options for the best results. Learn more from Bob Vila’s tile guide and Floor & Decor.

Consider Tile Size and Shape

Step 3: Consider Tile Size and Shape
Sleek large format tiles in different shapes create a modern bathroom look, with minimal grout lines for a seamless finish. | Generated by Google Gemini

The size and shape of your tiles can significantly affect your bathroom’s moisture defense. Larger tiles reduce the number of grout lines, which are the most vulnerable spots for water infiltration and mold growth. Fewer grout joints make cleaning easier and improve long-term moisture resistance.

Rectangular or square tiles are popular, but consider how shapes like hexagons or mosaics may increase grout lines and maintenance. Selecting the right size and shape contributes to both design and functionality. For more guidance, visit HGTV’s bathroom tile size guide and Tiles Direct.

Evaluate Slip Resistance and Safety

Step 4: Evaluate Slip Resistance and Safety
Textured slip-resistant tiles cover this modern bathroom floor, enhancing shower safety with a stylish, practical touch. | Generated by Google Gemini

Safety is paramount in wet bathroom areas, so selecting slip-resistant tiles for floors and showers is essential. Look for tiles with a high slip-resistance rating, often indicated by the COF (Coefficient of Friction) or specific slip-resistant certifications.

Matte finishes, textured surfaces, and smaller tiles with more grout lines can help prevent slips without sacrificing style. Prioritize products labeled as suitable for wet or high-traffic environments. For more details on safety and slip ratings, visit Consumer Reports and The Tile Association.

Select the Right Grout and Sealants

Step 5: Select the Right Grout and Sealants
A careful application of waterproof grout and tile sealant highlights freshly grouted bathroom tiles, ensuring a flawless finish. | Generated by Google Gemini

Choosing the correct grout and sealants is vital for keeping your bathroom moisture-proof. Opt for waterproof or epoxy grout, as these resist water penetration and mold growth better than traditional cement-based options.

Apply a high-quality sealant to grout lines and any natural stone tiles to enhance protection. Regularly inspect and reapply sealant as needed to maintain effectiveness. Proper application and ongoing maintenance help prevent cracks, stains, and water damage. For expert advice, visit Family Handyman and Daltile’s Bathroom Grout Guide.

Match Tiles to Your Style and Maintenance Needs

Step 6: Match Tiles to Your Style and Maintenance Needs
Choose easy-to-clean, stylish tiles—balancing color, finish, and pattern for a functional bathroom. | Generated by Google Gemini

Balancing design preferences with maintenance requirements is essential for a functional bathroom. Consider colors, patterns, and finishes that complement your décor while also selecting tiles known for easy cleaning—such as glazed porcelain or ceramic.

Lighter colors can make a space appear larger, while darker tones may better hide stains. Matte finishes offer slip resistance, while glossy tiles reflect more light. Choose patterns that align with your style but avoid textures that trap dirt or moisture. For inspiration and care tips, explore Homes & Gardens and House Beautiful.

Plan for Professional Installation or DIY

Gemini generated image x9xjv1x9xjv1x9x
A split image contrasting a professional meticulously tiling a bathroom wall with a confident expression and a DIYer looking overwhelmed amidst a messy. | Generated by Google Gemini

Deciding between professional installation and a DIY project can impact your bathroom’s moisture resistance and longevity. Professionals ensure precise tile placement, proper waterproofing, and expert grout application, reducing the risk of leaks or future repairs.

DIY installation can save money, but requires careful preparation, the right tools, and attention to detail—especially in wet areas. Whichever you choose, prioritize quality materials and thorough subfloor preparation for the best results. For guidance, check This Old House’s tiling tutorial and HomeServe’s installation tips.

Conclusion

Conclusion
Expert tips for selecting stylish, durable bathroom tiles and ensuring long-lasting water protection. | Generated by Google Gemini

By carefully considering moisture levels, selecting the best tile materials, choosing appropriate sizes, prioritizing slip resistance, and ensuring proper installation, you can create a bathroom that is both stylish and durable. Using waterproof grout and sealants further protects your space from water damage. Refer to this guide as a practical checklist for a successful renovation. For more bathroom inspiration and expert advice, explore Real Homes and Better Homes & Gardens.

Advertisement